This guide details the end-to-end production workflow, establishing a standard operating procedure for consistent results. We will cover the critical technical stages, from resin and additive selection to the specifics of injection molding and multi-part assembly. You will also get a clear look at the essential seal integrity and leak testing protocols that separate reliable suppliers from operational risks, ensuring every cap meets performance specifications.
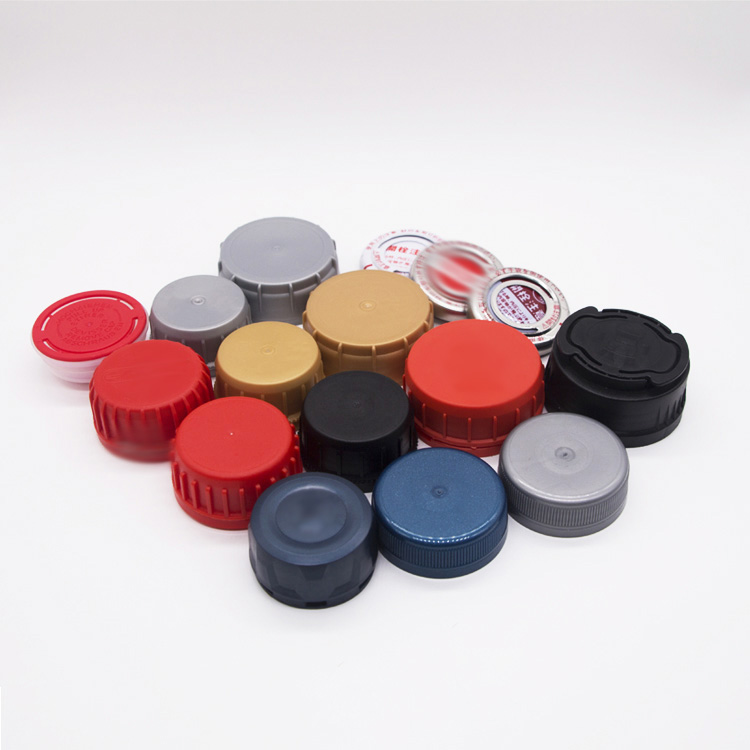
Overview of the Plastic Spout Caps Manufacturing Workflow
| Manufacturing Stage | Core Process | Purpose & Key Outcome |
|---|---|---|
| 1. Raw Material Selection | Choosing PE or PP resin, blending color masterbatch and functional additives. | Determines chemical resistance, Haltbarkeit, UV protection, and product appearance. |
| 2. Cap and Mold Design | Engineering thread structure, pouring channel, tamper ring, und Präzision injection mold. | Ensures sealing performance, dimensional accuracy, and compatibility with containers. |
| 3. Spritzguss | Molten plastic is injected into steel molds under high pressure. | Forms the spout body, cap shell, Threads, and tamper-evident structures. |
| 4. Cooling and Deflashing | Controlled cooling followed by trimming excess plastic (flash). | Stabilizes dimensions and ensures clean threads and sealing surfaces. |
| 5. Liner and Seal Production | Manufacturing and inserting EPE foam liners or rubber gaskets. | Creates an airtight seal between the cap and the container opening. |
| 6. Component Assembly | Automated assembly of spout body, overcap, liner, and tamper band. | Produces a complete functional closure system ready for testing. |
| 7. Functional Performance Testing | Measuring opening torque, thread engagement, and pouring performance. | Ensures the cap is secure during transport but easy for consumers to open. |
| 8. Leak and Seal Integrity Testing | Pressure decay testing, vacuum bubble testing, and drop tests. | Confirms that the closure prevents leakage during storage and transport. |
| 9. Packaging and Traceability | Automated counting, packing, orientation control, and lot number coding. | Ensures efficient logistics and full production traceability. |
| 10. Production Optimization | Automatisierung, parameter tuning, and real-time production monitoring. | Improves cycle time, reduces defects, and supports high-volume manufacturing. |
Step 1 – Selecting Resins and Additives for Spout Caps
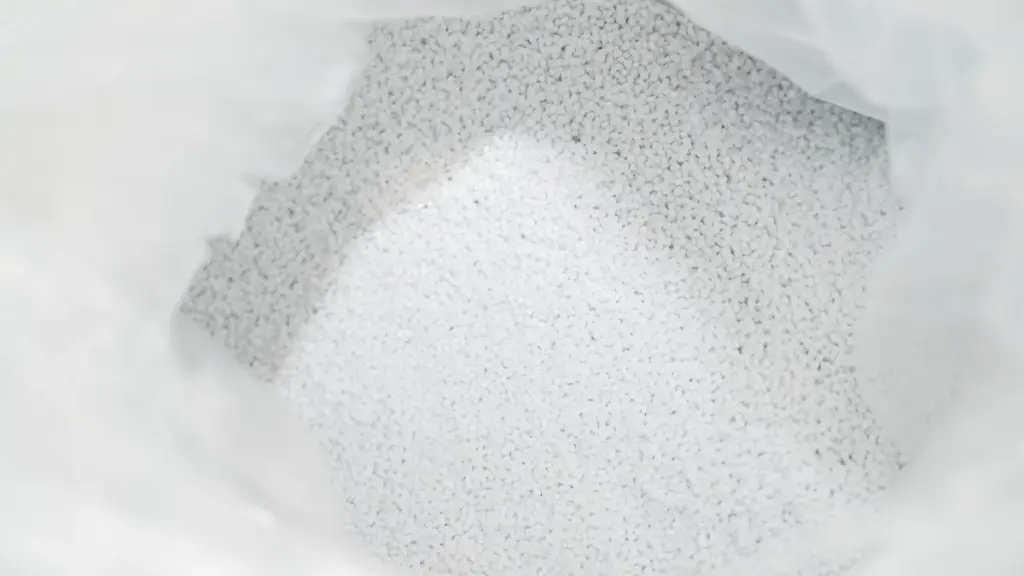
Spout cap production begins with selecting the appropriate thermoplastic resin and functional additives. This stage determines the cap’s chemical resistance, Haltbarkeit, and long-term sealing reliability.
Most manufacturers choose between polyethylene (PE) and polypropylene (Pp) depending on the application.
Common material choices include:
- Polypropylen (Pp)
Often selected for applications requiring higher temperature resistance, such as hot-fill packaging or sterilization processes. - Polyethylen hoher Dichte (HDPE)
Provides excellent impact resistance and chemical compatibility, making it widely used for industrial packaging containing oils, Reinigungsmittel, oder chemische Flüssigkeiten.
To meet brand requirements and improve performance, the base resin is blended with color masterbatch and specialized additives.
Typical additives used in spout cap production include:
- UV stabilizers – protect the plastic from sunlight degradation
- Anti-static agents – reduce dust accumulation during storage and retail display
- Anti-aging additives – extend the cap’s lifespan under long-term use
Before molding begins, resin granules undergo a drying process to remove residual moisture. If moisture remains in the material, it can vaporize during high-temperature injection and create defects such as:
- internal voids
- surface blemishes
- structural weakness
Proper drying ensures consistent melt flow during molding and helps maintain the cap’s mechanical strength and sealing reliability.
Step 2 – Designing the Spout Cap, Pouring Channel and Mold
The engineering design stage defines both the functional performance and manufacturability of the spout cap. During this phase, engineers determine the cap geometry, pouring channel structure, thread design, and sealing interface.
Key structural elements defined during design include:
- Thread profiles that ensure secure engagement with container necks
- Pouring channels that control liquid flow during dispensing
- Tamper-evident bands that break on first opening
- Sealing surfaces that ensure proper gasket compression
Another critical aspect is the injection mold design, which must support high-volume production while maintaining tight dimensional tolerances.
Important mold engineering considerations include:
- High-precision steel mold cavities for accurate thread reproduction
- Cooling channels to control mold temperature and reduce shrinkage
- Material shrinkage compensation for PE or PP resins
Because sealing performance depends on extremely small dimensional tolerances, engineers must carefully calculate expected shrinkage during cooling. The mold design also includes flat areas for laser coding or hot stamping, allowing manufacturers to mark batch numbers for traceability.
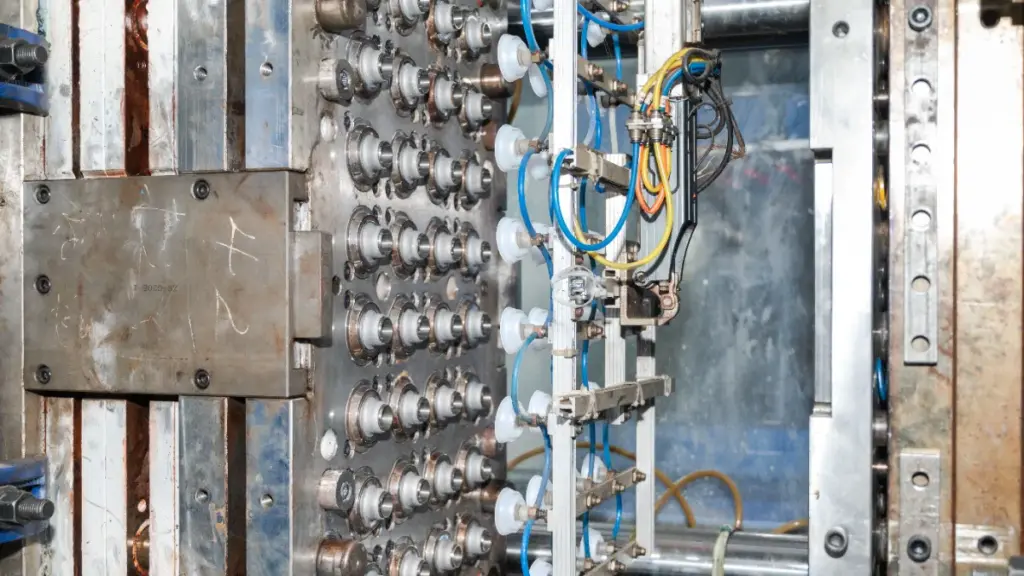
Step 3 – Injection Molding of Spout Bodies and Overcaps
Injection molding is the standard production method for manufacturing spout caps because it enables high-volume output with consistent dimensional accuracy.
In this process, dried plastic granules are fed into an injection molding machine where they are heated until molten.
Typical processing conditions include:
- Melting temperature: 180–250°C
- Injection pressure: high pressure to ensure complete mold filling
- Mold temperature: typically maintained between 20–60°C
Once molten, the plastic is injected into a precision steel mold that forms the cap’s structural features.
These features typically include:
- threaded neck interface
- tamper-evident rings
- pouring channels
- overcap structures
After the mold cavity is filled, the plastic cools and solidifies. Cooling time must be carefully controlled because uneven cooling can lead to:
- shrinkage distortion
- warping
- dimensional inconsistencies
A complete molding cycle usually takes 20–35 seconds, depending on cap size and wall thickness. This repeatable process allows manufacturers to produce thousands of identical components with stable mechanical properties and reliable sealing performance.
Mold Cooling for Dimensional Stability
Once the molten plastic fills the cavities, the cooling phase begins. This is the longest and most critical part of the cycle. The mold temperature is precisely maintained between 20–60°C via internal cooling channels. This controlled cooling manages how the plastic shrinks as it solidifies, which is essential for achieving precise dimensions, preventing warping, and ensuring the structural integrity required for a reliable seal.
Part Ejection and Cycle Management
After the parts have cooled and solidified, the mold opens and an ejection system pushes the finished spout bodies and overcaps out of their cavities. The entire cycle—from mold closing to part ejection—typically takes between 20 Und 35 seconds. Efficient cycle management is key to high-volume production, balancing speed with the necessary cooling time to guarantee consistent part quality across thousands of units.
Post-Molding Trimming and Flash Removal
The ejected parts are transferred to downstream automated systems for finishing. A common step is trimming, where any excess plastic material, known as flash, is removed from the part. Flash typically occurs at the mold’s parting lines. Removing it is necessary to achieve the final, clean product geometry and ensure there are no imperfections that could interfere with sealing performance or assembly.
Step 4 – Cooling, Deflashing and Trimming Spout Components
Once molded parts are ejected from the mold, they enter the finishing stage. This phase ensures that each component maintains precise dimensions and clean structural edges.
Controlled cooling continues after mold release to allow the plastic to stabilize fully. Proper cooling helps maintain accurate thread geometry and sealing surfaces.
During molding, a thin layer of excess plastic known as flash may form along the mold’s parting line.
If not removed, flash can cause several problems:
- improper thread engagement
- sealing surface irregularities
- assembly difficulties
To eliminate these issues, manufacturers perform deflashing and trimming operations.
Common trimming methods include:
- automated trimming machines for high-volume production
- cryogenic deflashing systems for precision cleaning
- manual finishing for complex designs or small batches
After trimming, the components are inspected to confirm that they meet dimensional and surface quality specifications before moving to the assembly stage.
Your Strategic Partner for Zero-Leakage Closures
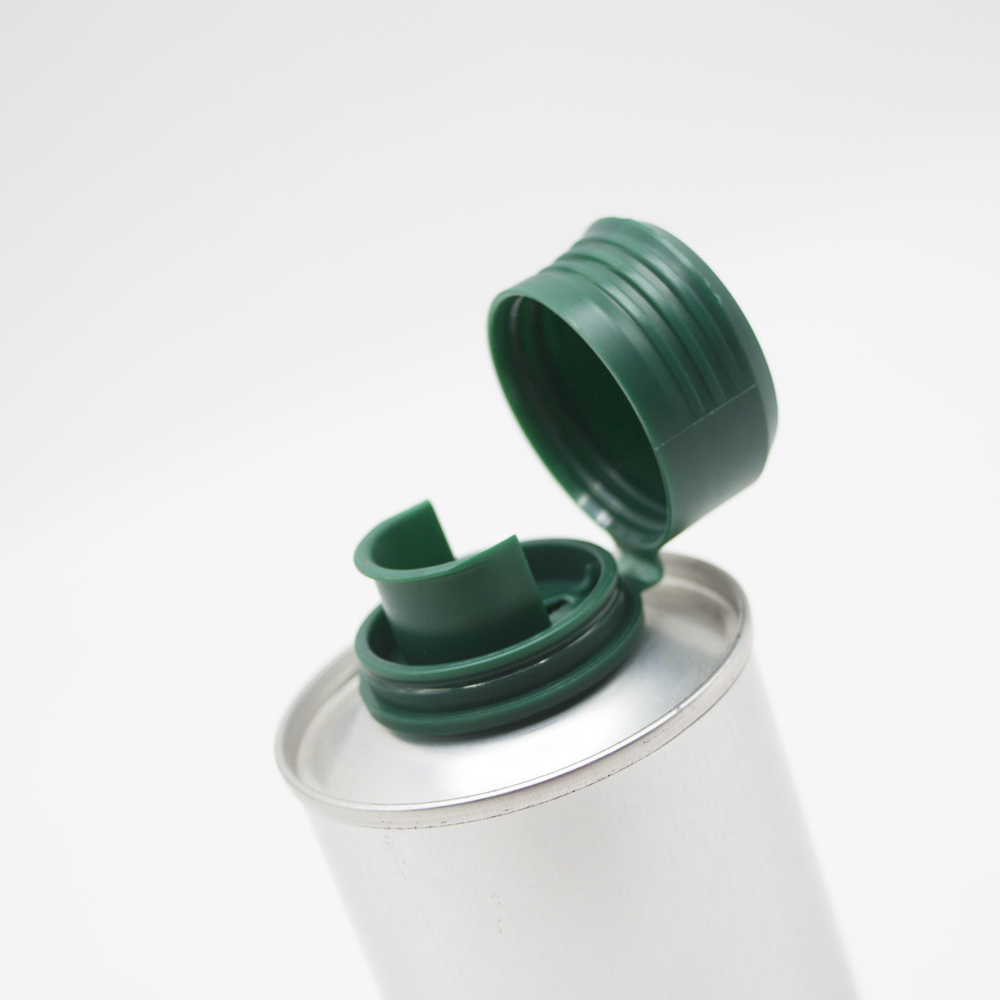
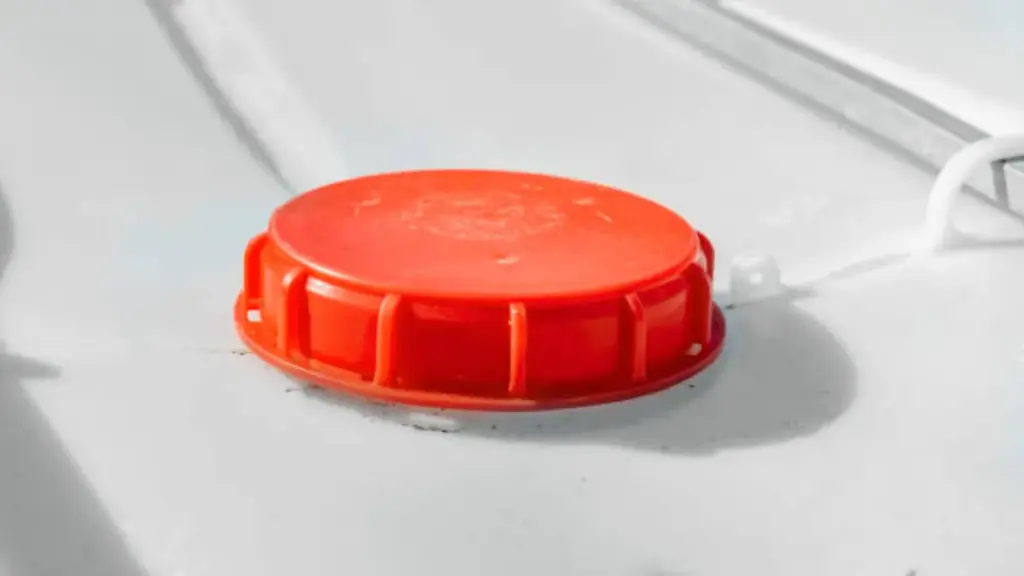
Step 5 – Producing Liners, Seals and Tamper Components
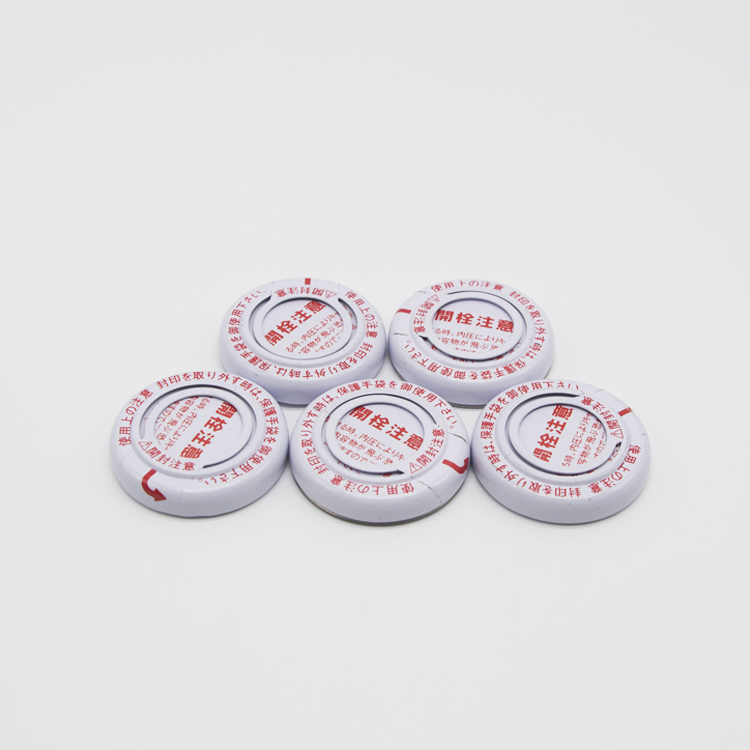
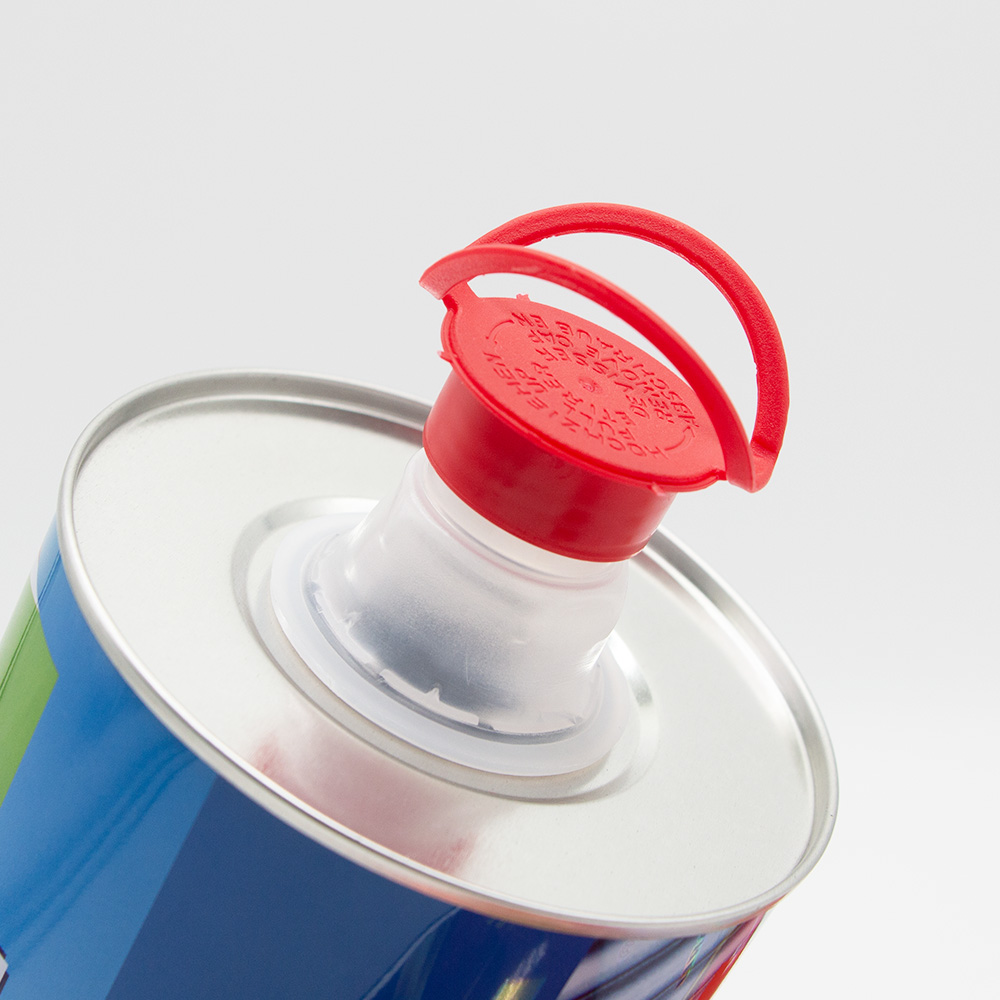
One of the most important security features is the tamper-evident band, which is typically molded directly during the injection process. This band separates when the cap is opened for the first time, indicating that the product has not been previously accessed.
To enhance sealing performance, caps may also contain internal liners or gaskets.
Common sealing materials include:
- EPE foam liners – widely used for consumer packaging due to good compressibility
- Rubber gaskets – preferred for industrial or chemical containers requiring stronger sealing
These liners are produced separately and then inserted into the cap interior.
High-speed production lines typically use automated liner insertion machines, which ensure:
- consistent liner placement
- proper alignment
- high production efficiency
Immediately after insertion, preliminary inspections verify that the liner sits correctly and forms a reliable sealing interface.
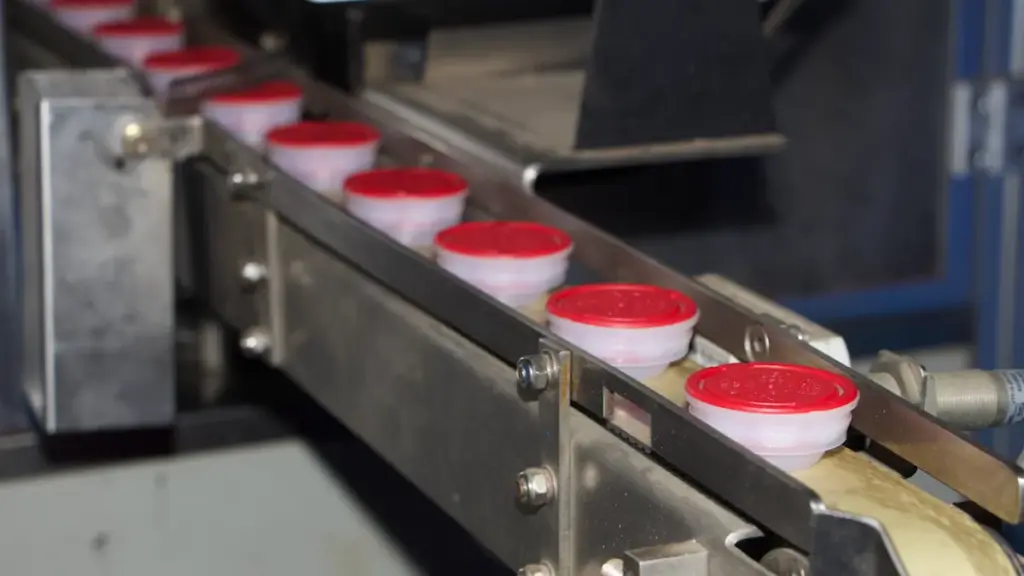
Step 6 – Assembly of Spout Caps and Components
After all individual components are produced, they are assembled into a complete closure system.
Automated assembly lines combine several parts into one finished cap, einschließlich:
- the spout body
- the overcap
- the liner or gasket
- the tamper-evident structure
Before assembly begins, each component is checked for potential molding defects such as flash or dimensional inconsistencies.
Clean edges and accurate geometry are essential because even small defects can lead to sealing failures or assembly issues.
During the assembly stage, automated systems perform several operations:
- liner or gasket insertion
- overcap fitting
- tamper band positioning
These processes are carefully synchronized to ensure consistent product quality. Once assembly is completed, the finished spout cap proceeds to functional testing.
Step 7 – Functional Testing of Opening and Pouring Performance
Functional testing verifies that the spout cap performs reliably during real-world use.
One of the most important parameters measured is opening torque. Engineers use torque testing equipment to determine the rotational force required to open the cap.
Opening torque must fall within a controlled range:
- too low → cap may loosen during transportation
- too high → consumers may struggle to open the package
Additional mechanical performance tests include:
- thread engagement testing to confirm proper cap-to-container fit
- drop testing to evaluate impact resistance during shipping
- chemical compatibility tests for industrial packaging applications
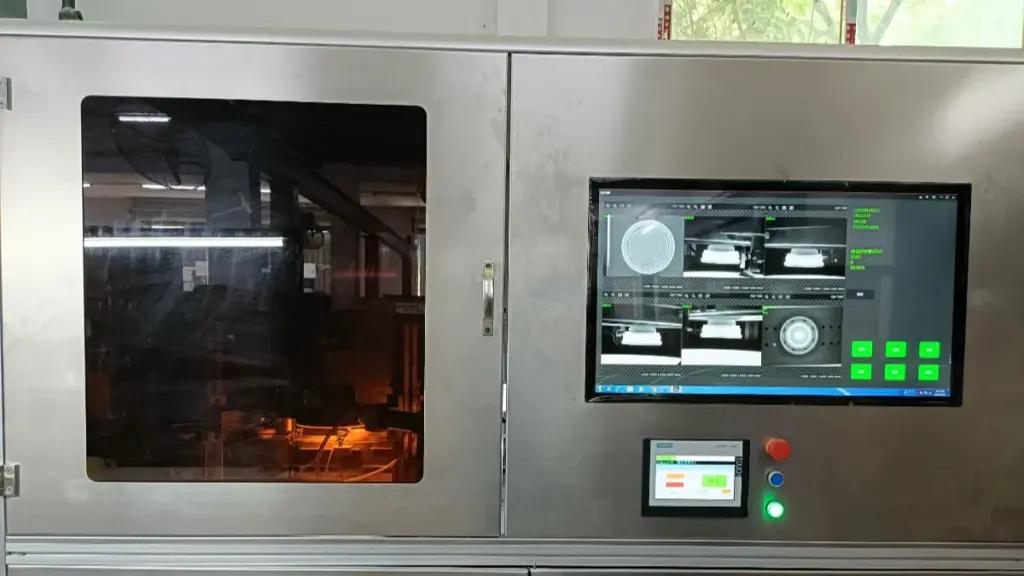
Automated inspection systems also scan each component for manufacturing defects.
These systems detect issues such as:
- voids or bubbles
- surface imperfections
- incomplete mold filling
Such inspections ensure every cap meets structural and functional quality standards.
Step 8 – Seal Integrity and Leak Testing
Seal integrity testing ensures that the cap and container system prevents leakage during storage and transportation.
Before testing begins, containers are sealed using calibrated torque equipment to simulate real packaging conditions.
Several testing methods are used to evaluate sealing reliability.
Common leak detection methods include:
- Pressure decay testing
Pressurized containers are monitored for pressure loss that indicates micro-leaks. - Bubble leak testing (ASTM D3078)
Containers are submerged in water inside a vacuum chamber to visually detect escaping air bubbles.
Additional durability tests may include:
- Falltests to simulate transportation impacts
- thermal cycling tests to evaluate performance under temperature fluctuations
These evaluations confirm that the sealing system maintains integrity throughout the product lifecycle.
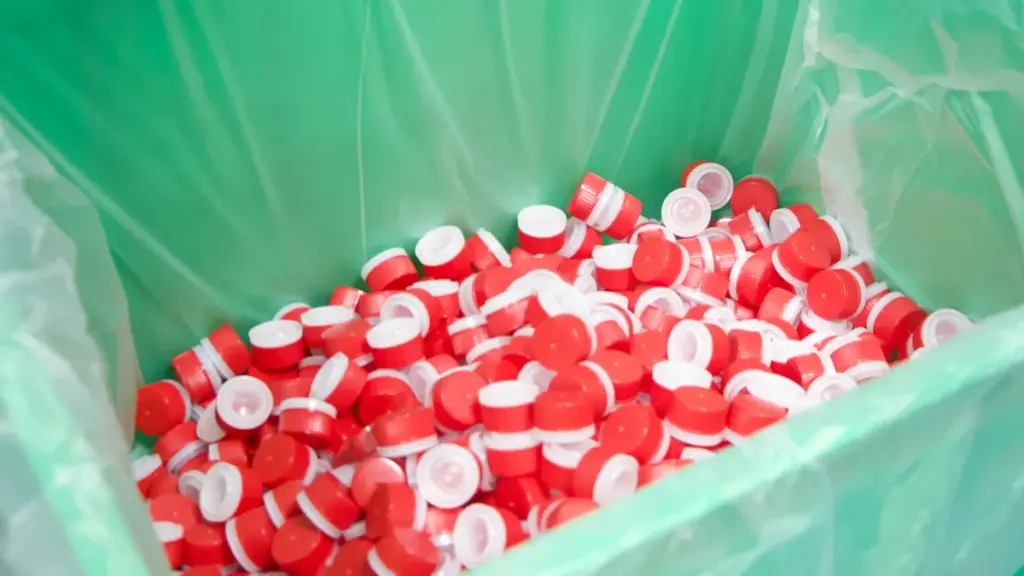
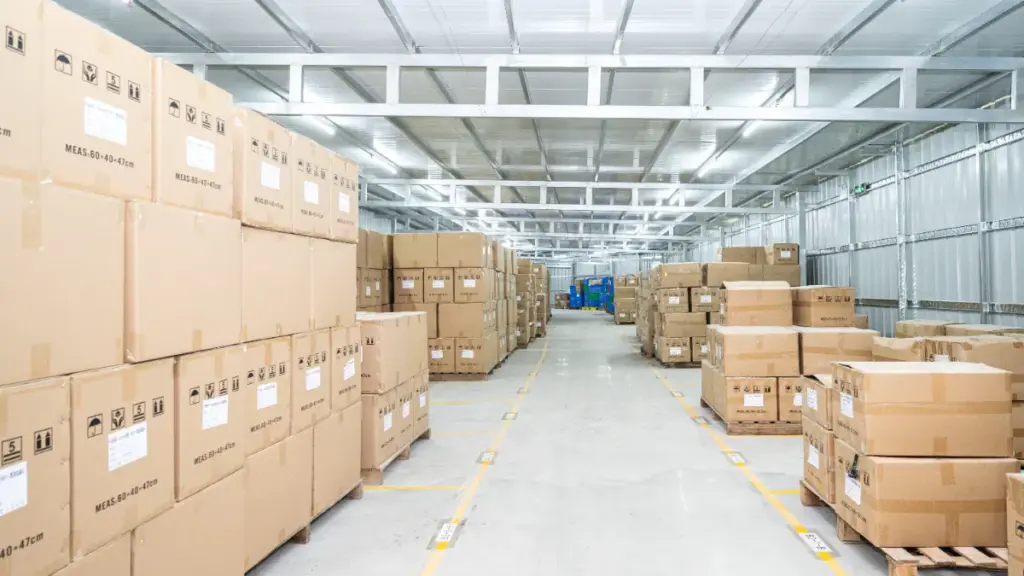
Step 9 – Packing, Orientation Control and Traceability
After passing all inspections, spout caps proceed to the final packaging stage.
Automated packing systems count and transfer caps into cartons or bulk packaging containers. This automation eliminates manual counting errors and ensures accurate shipment quantities.
To support automated filling lines, manufacturers also implement cap orientation control.
Orientation systems typically use:
- mechanical feeders
- conveyor alignment systems
- vision inspection technology
These systems ensure caps are packed in a consistent orientation, allowing them to feed directly into automated capping equipment.
Each production batch is also marked with a lot number using laser coding or hot stamping.
This coding enables manufacturers to trace:
- raw material batches
- production dates
- machine parameters
- quality test records
Traceability is essential for regulatory compliance and quality control.
Step 10 – Optimizing High-Speed Spout Cap Production
Large-scale spout cap manufacturing requires continuous optimization to maintain efficiency and product consistency.
Automation is central to modern high-speed production lines. Raw materials are automatically transported from storage silos to dryers and injection molding machines.
Advanced material handling systems typically include:
- automated resin loaders
- gravimetric blending equipment
- in-line moisture monitoring
Injection molding parameters are also carefully optimized to reduce cycle time while maintaining quality.
Key parameters include:
- melt temperature
- injection pressure
- cooling time
Through process optimization, many manufacturers can reduce molding cycle times from 30+ seconds to around 15–20 seconds.
Downstream processes such as trimming, liner insertion, and inspection are also integrated into automated systems. High-speed vision cameras inspect each cap within milliseconds, detecting defects that manual inspection could miss.
Real-time production data allows engineers to identify bottlenecks, optimize machine performance, and schedule preventive maintenance. This data-driven approach supports stable output and consistent product quality in large-volume manufacturing environments.
Conclusion
Understanding the spout cap manufacturing workflow, from resin selection and molding to multi-stage testing, shows what separates a reliable component from a potential liability. Each step builds upon the last to ensure consistent pouring, secure sealing, and a positive end-user experience. A disciplined production process delivers the quality control necessary to protect your product and brand.
If you are evaluating suppliers or need a spout cap for a new application, contact our team for technical specifications or to request a sample. We can help you match a high-performance cap to your product’s requirements.
Frequently Asked Questions
What materials are used to manufacture plastic spout caps?
Plastic spout caps are commonly made from HDPE or polypropylene (Pp) because these materials provide strong chemical resistance, Haltbarkeit, and stable molding performance. High-quality plastic spout cap manufacturers like eingeführt use virgin PE materials to ensure consistent strength, Sicherheit, and reliable sealing performance.
Are plastic spout caps injection molded or blow molded?
Most plastic spout caps are produced using injection molding, which allows precise formation of threads, tamper-evident rings, and sealing surfaces. This process ensures consistent dimensions and high production efficiency for large-volume cap manufacturing.
How do manufacturers ensure spout caps are leak-proof?
Manufacturers perform quality inspections such as torque testing, leak testing, and sealing performance checks. Dieser FUTEN, strict quality control and automated production help ensure every spout cap maintains reliable sealing and pouring performance during transportation and use.
What is the typical production cycle time for spout caps?
The injection molding cycle for plastic spout caps typically takes 20–35 seconds per cycle, depending on cap size and mold structure. With automated equipment and optimized molds, large manufacturers can produce thousands of caps per hour.
Where can I find a reliable spout cap manufacturer?
A reliable spout cap manufacturer should offer stable raw materials, automated injection molding, strict quality control, and customization capability. FUTEN provides OEM plastic cap solutions with over 70 automated machines, 1000+ Formen, and fast delivery options for global customers.